In the previous article we introduced unit and integration tests with React testing library. In this article we will be discussing End-to-end testing with Cypress library.
What is End-to-end testing?
End-to-end testing is the process of loading up your web application in the browser and testing things as if it was a real user performing these actions such as clicking buttons, filling out forms etc. The goal is to simulate what a real user scenario looks like from start to finish.
Why Cypress?
Cypress is a testing library built on top of Mocha which runs in the browser. It is easy to set up with React and has a minimal learning curve which makes it the go-to library for end-to-end testing. Few key features which set Cypress apart from other testing libraries are listed below. You can read more about them in their documentation.
- Time Travel
- Debuggability
- Automatic Waiting
- Spies, Stubs, and Clocks
- Network Traffic Control
- Consistent Results
- Screenshots and Videos
- Cross Browser Testing
Setting up Cypress
Setting up Cypress with React is a straight forward process. To install cypress in your project -
yarn add -D @testing-library/cypress

OR

npm install cypress --save-dev
To start using cypress test runner run the following command
npx open cypress

OR

./node_modules/.bin/cypress open
The last step will create a cypress folder in the root directory of your project with two sample tests inside cypress/integration folder. Let's delete these sample files and create an examples folder.
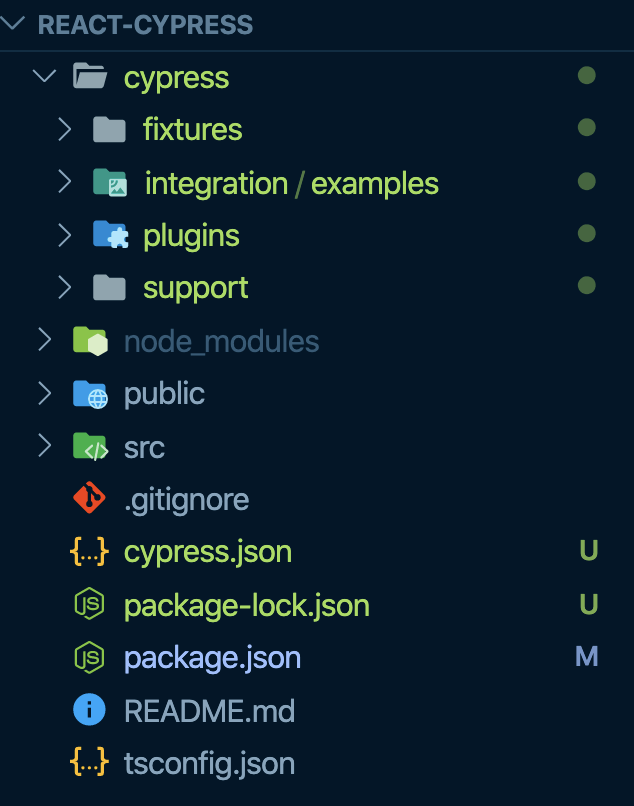
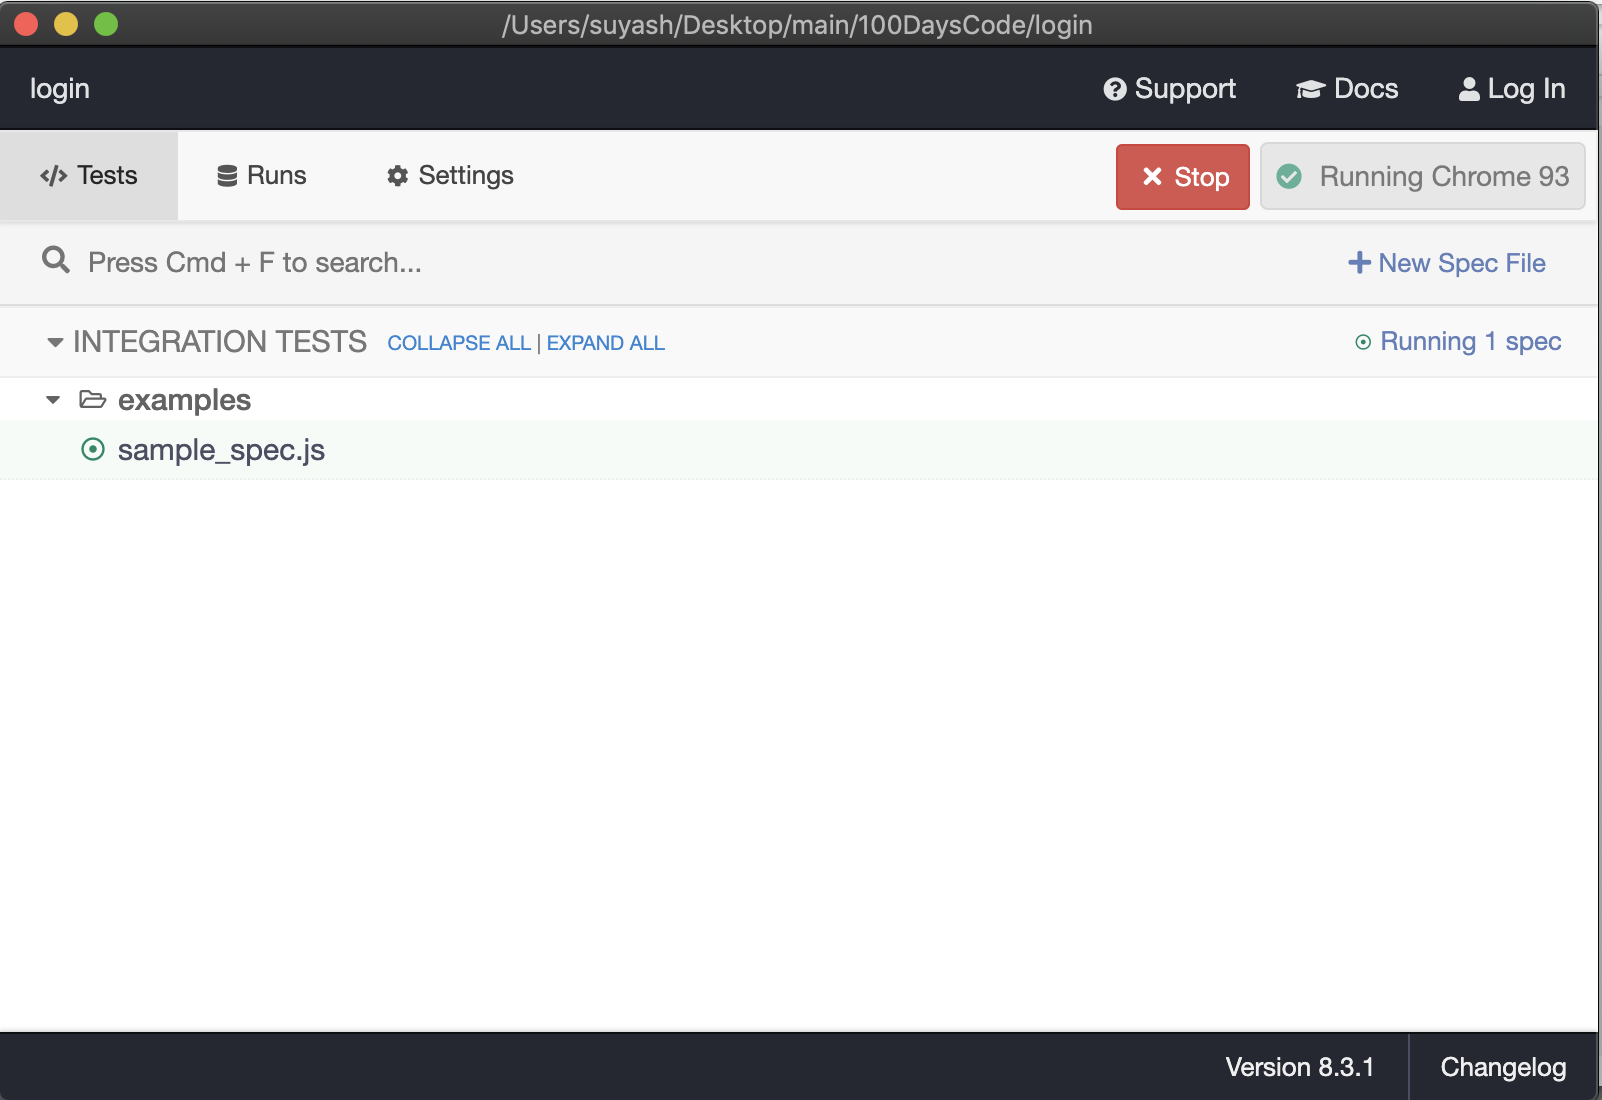
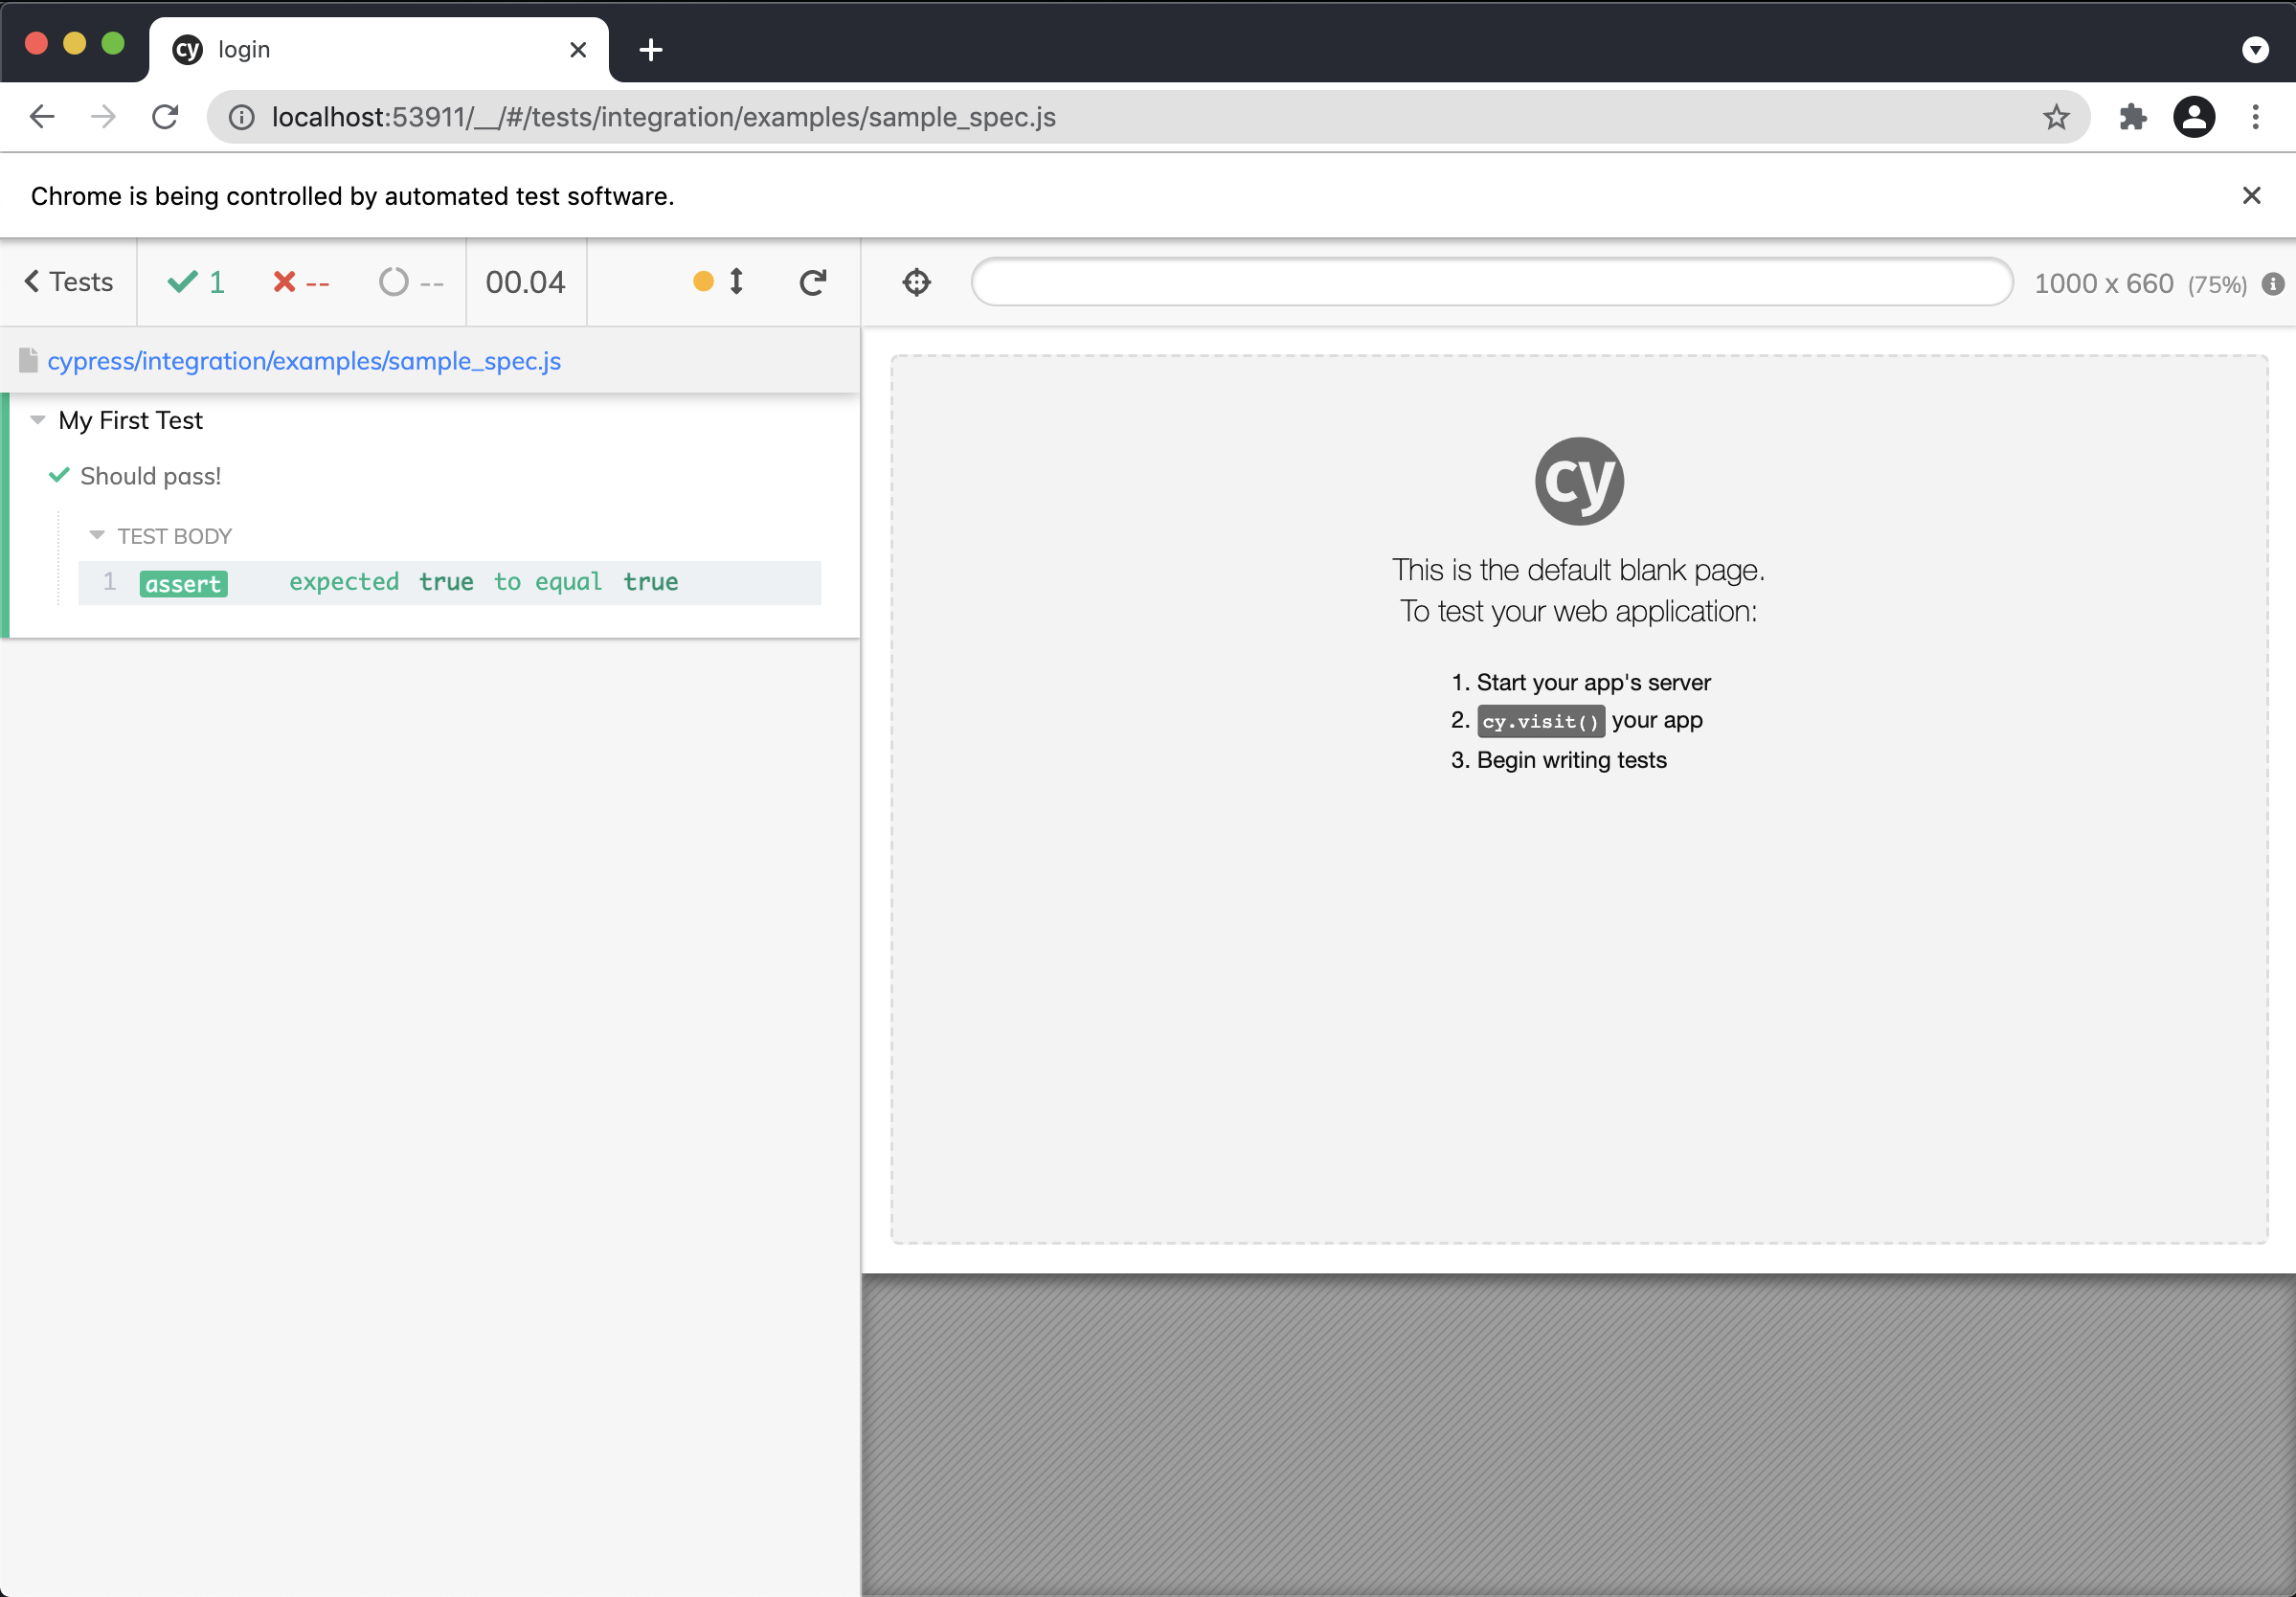
Inside the examples folder, we will create a sample_spec.js file. Once this file is created it will automatically show up on the Cypress test runner. Lets run this test and see it pass.
// sample_spec.js

describe('My First Test', function () {
  it('Should pass!', function () {
    expect(true).to.equal(true);
  });
});
Cypress Commands
Cypress has multiple commands which you should read up more about on their documentation. Lets just quickly go over the three most often used commands in my experience.
- cy.contains()
Get the DOM element containing the text. DOM elements can contain more than the desired text and still match.
- cy.get()
Get one or more DOM elements by selector or alias.
- cy.find()
Get the descendent DOM elements of a specific selector.
Side note - If you have eslint installed it will throw an error when you try to use the cy command. To fix this issue you need to create a file .eslintrc.json in your root directory and add the following.
{
  "extends": ["plugin:cypress/recommended"]
}
Cypress Assertions
Assertions help us insure that the tests we write are quality code and as we intended it to be. Once again there are multiple assertions which you should go though in thier documentation.
Assertions describe the desired state of your elements, your objects, and your application.
Testing with Cypress
Lets take an example of a note app I built earlier. It is a very simple app where the user can create new notes. We will test a scenario where user clicks on the add note button to open the form modal and enters title, description, category before adding the new note. Once the user has added a new note, they can toggle the complete button which will change the number of completed notes.

describe('creating a new note', () => {
  beforeEach(() => {
    cy.visit('http://localhost:3001/');
  });

  it('should display modal when add note button is clicked', () => {
    cy.contains('button', 'Add Note').click();
    cy.contains('Create new note').should('be.visible');
  });
});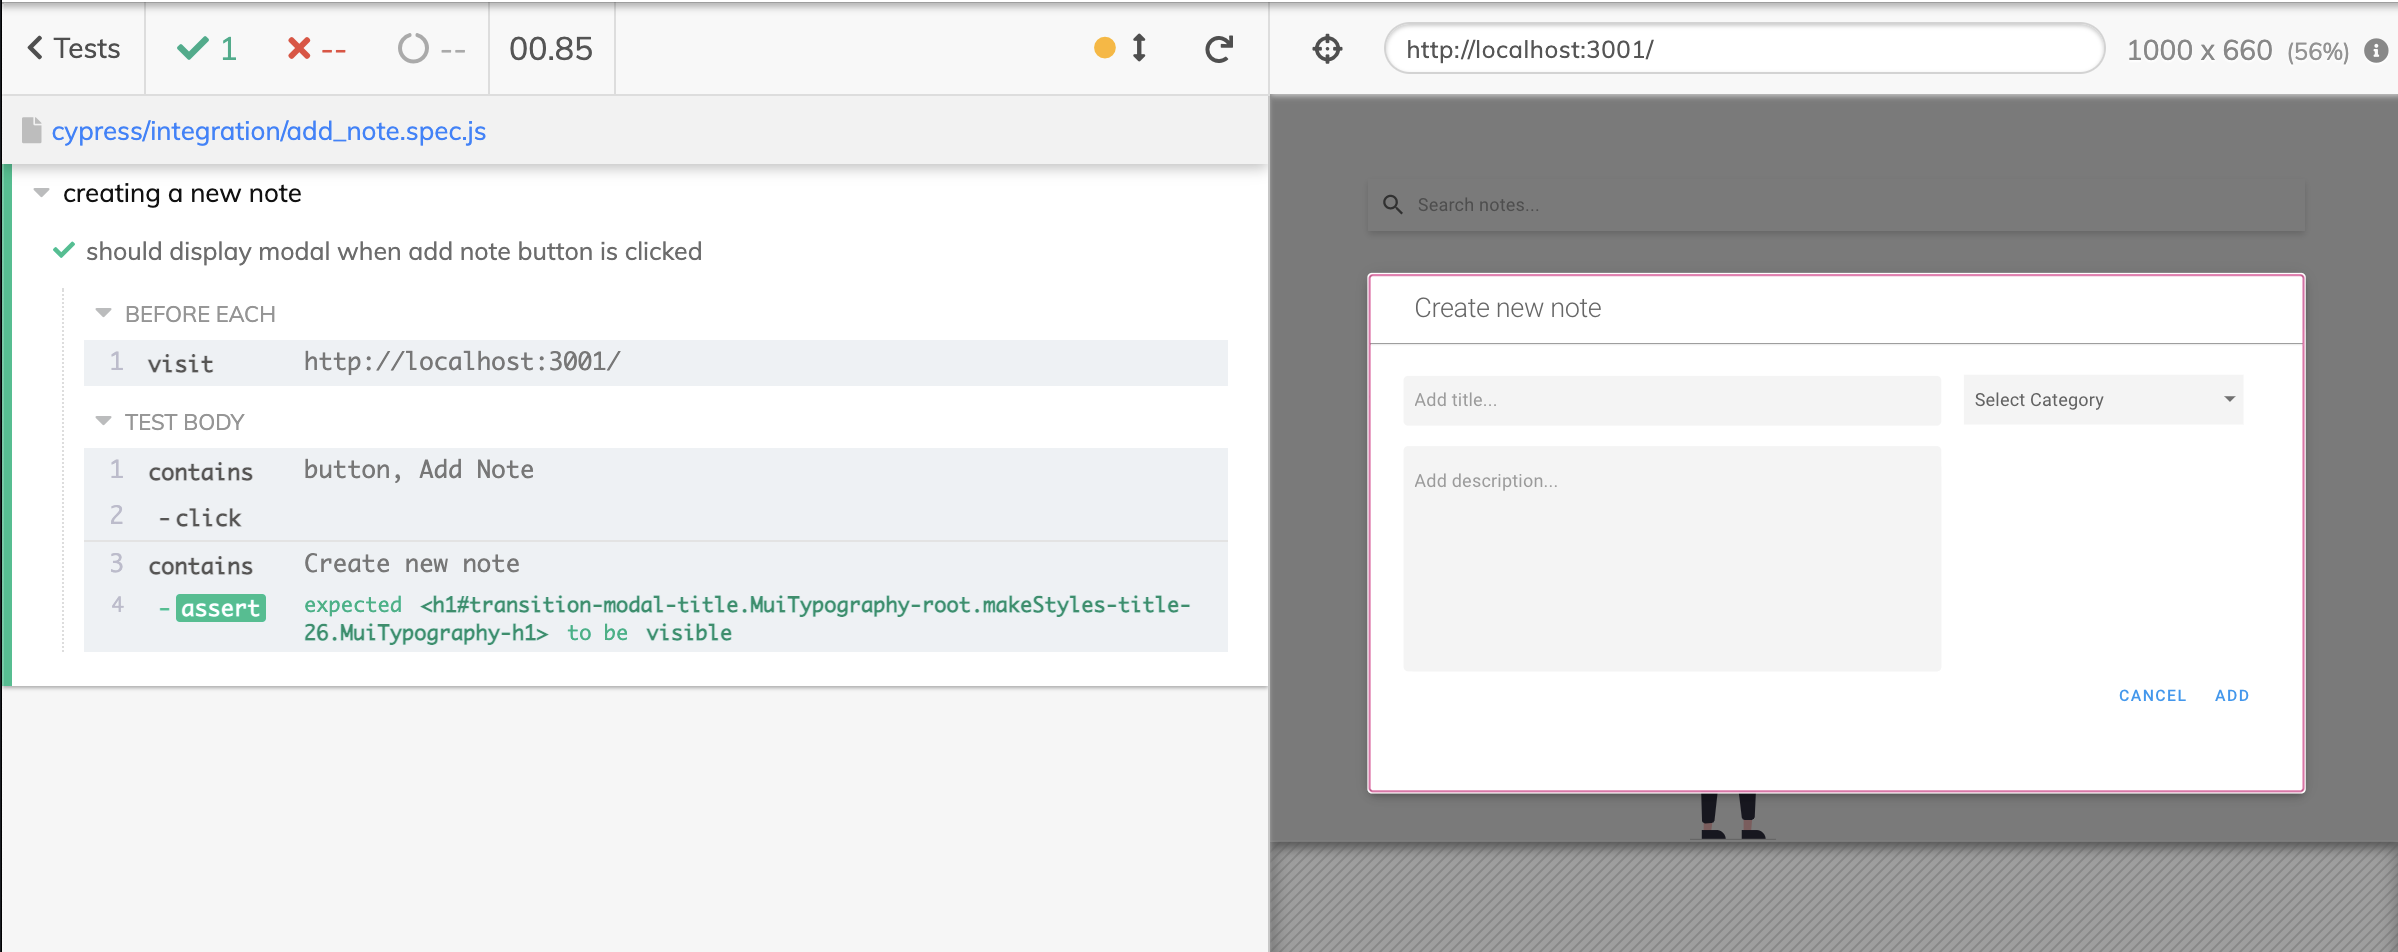
We have successfully written and passed our first test. Lets go over each step to understand what's happening here.
First thing we create a describe block which groups common tests together.
Next inside the describe block we use the beforeEach() hook to check if we are at the correct route before each test is run.
Then we create our first test block which looks for a button with the text 'Add Note' and clicks it. We are using cy.contains in this scenario but there are other options like we discussed earlier.
Once this button is clicked we expect (our assertion here) 'Create new note' text to be visible on the screen.
Now inside the same describe lets continue writing our tests which will check for the rest of the actions user will follow to create note and toggle it complete.
describe('creating a new note', () => {
........
it('should create new note card when new note is added', () => {
cy.get('button[data-cy="btnModal"]').click();
cy.get('input[placeholder="Add title..."]').type('My First Note');
cy.get('textarea[placeholder="Add description..."]').type(
'Important info bout the note goes here'
);
cy.get('.MuiSelect-root').first().type('{downarrow}{enter}');
cy.get('button[data-cy="btnAdd"]').click();
cy.contains('My First Note').should('be.visible');
});
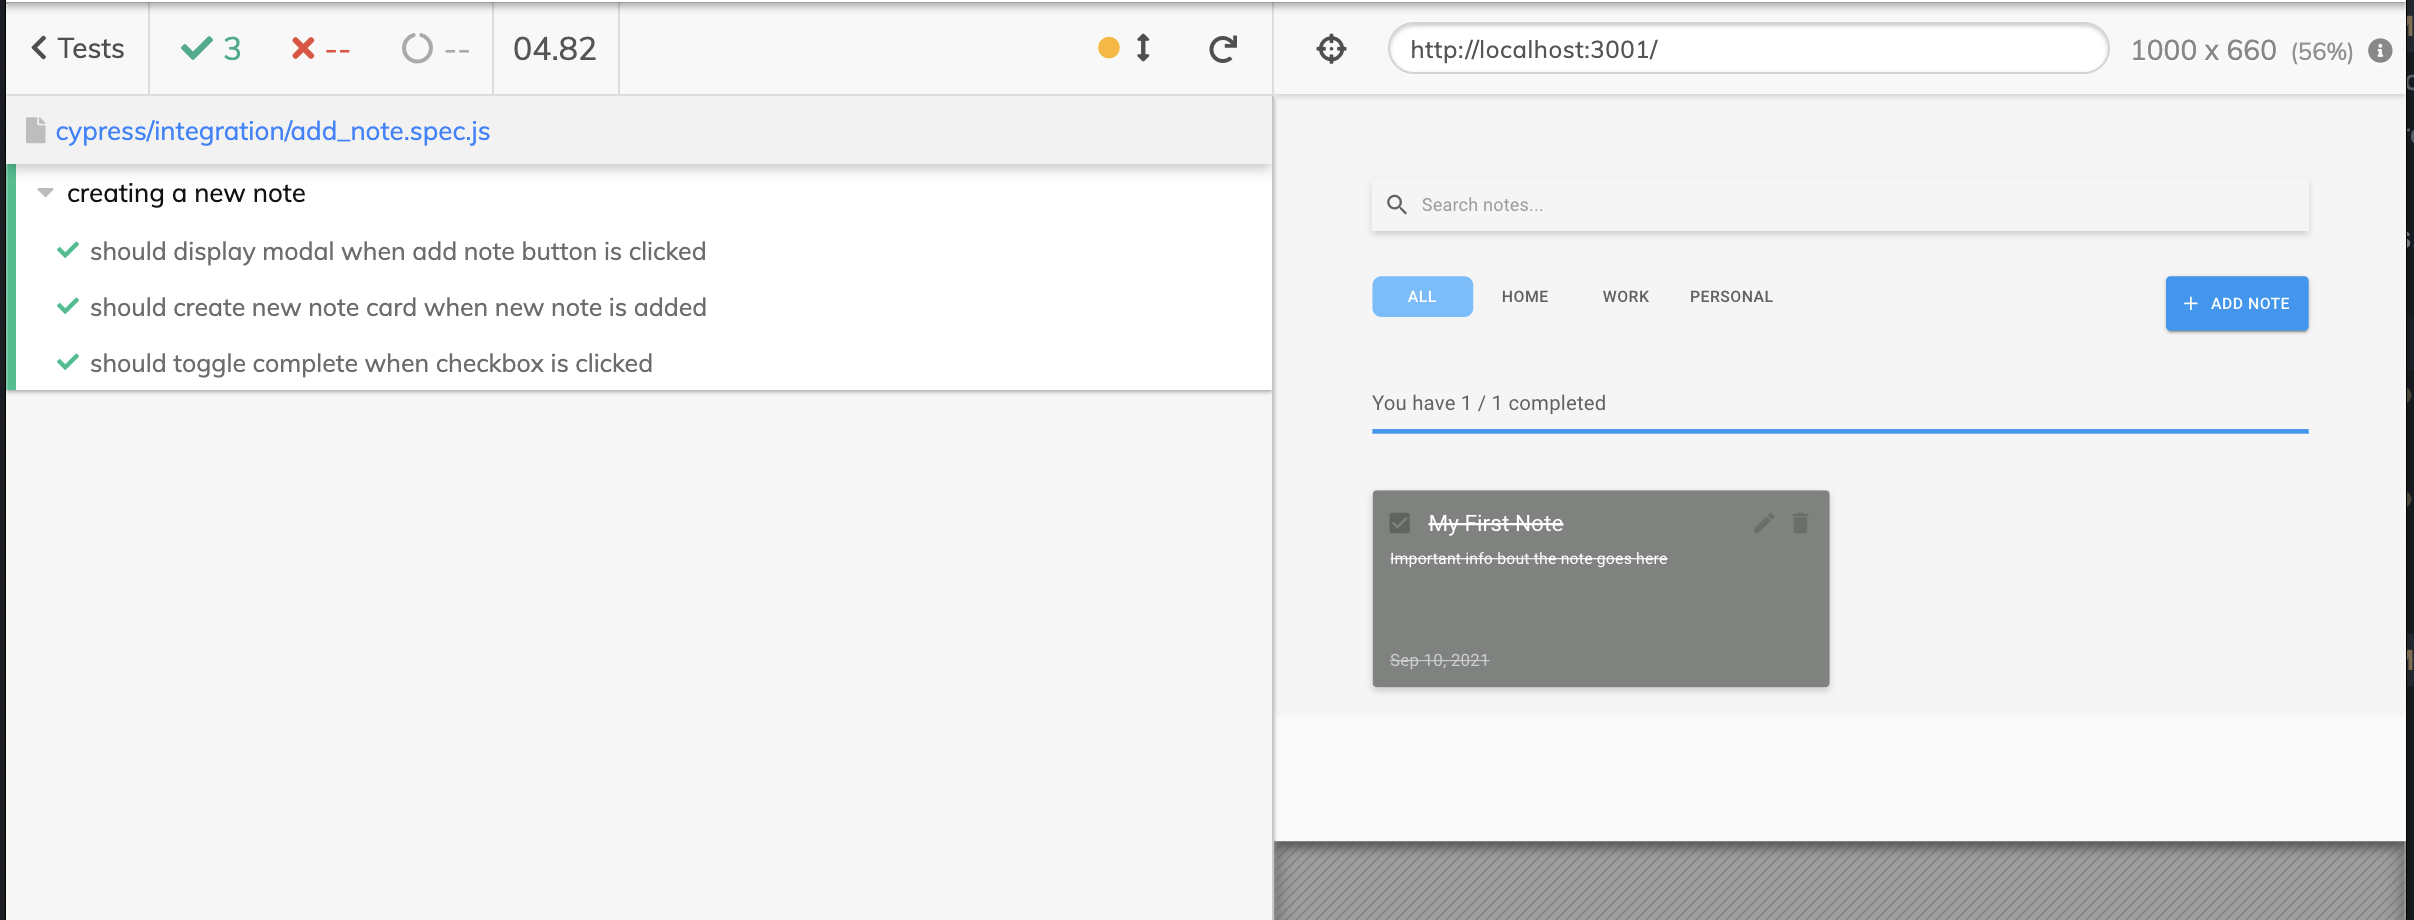
it('should toggle complete when checkbox is clicked', () => {
cy.get('button[data-cy="btnModal"]').click();
cy.get('input[placeholder="Add title..."]').type('My First Note');
cy.get('textarea[placeholder="Add description..."]').type(
'Important info bout the note goes here'
);
cy.get('.MuiSelect-root').first().type('{downarrow}{enter}');
cy.get('button[data-cy="btnAdd"]').click();
cy.get('.MuiCheckbox-root').click();
cy.contains('You have 1 / 1 completed').should('be.visible');
});
}- In the first test block we are checking if the note is successfully created.
- We are using cy.get to get hold of our DOM elements
- For the button element we use a data test id
- Placeholder for input and textarea
- Class name for the select element
- Later we click on the button to add note
- Finally we assert if the new note has been created by checking if the title of the note appears on the screen
- Second test block is to check when the user toggles complete it changes the number of completed notes in the screen. It follows a similar pattern to the earlier test block.
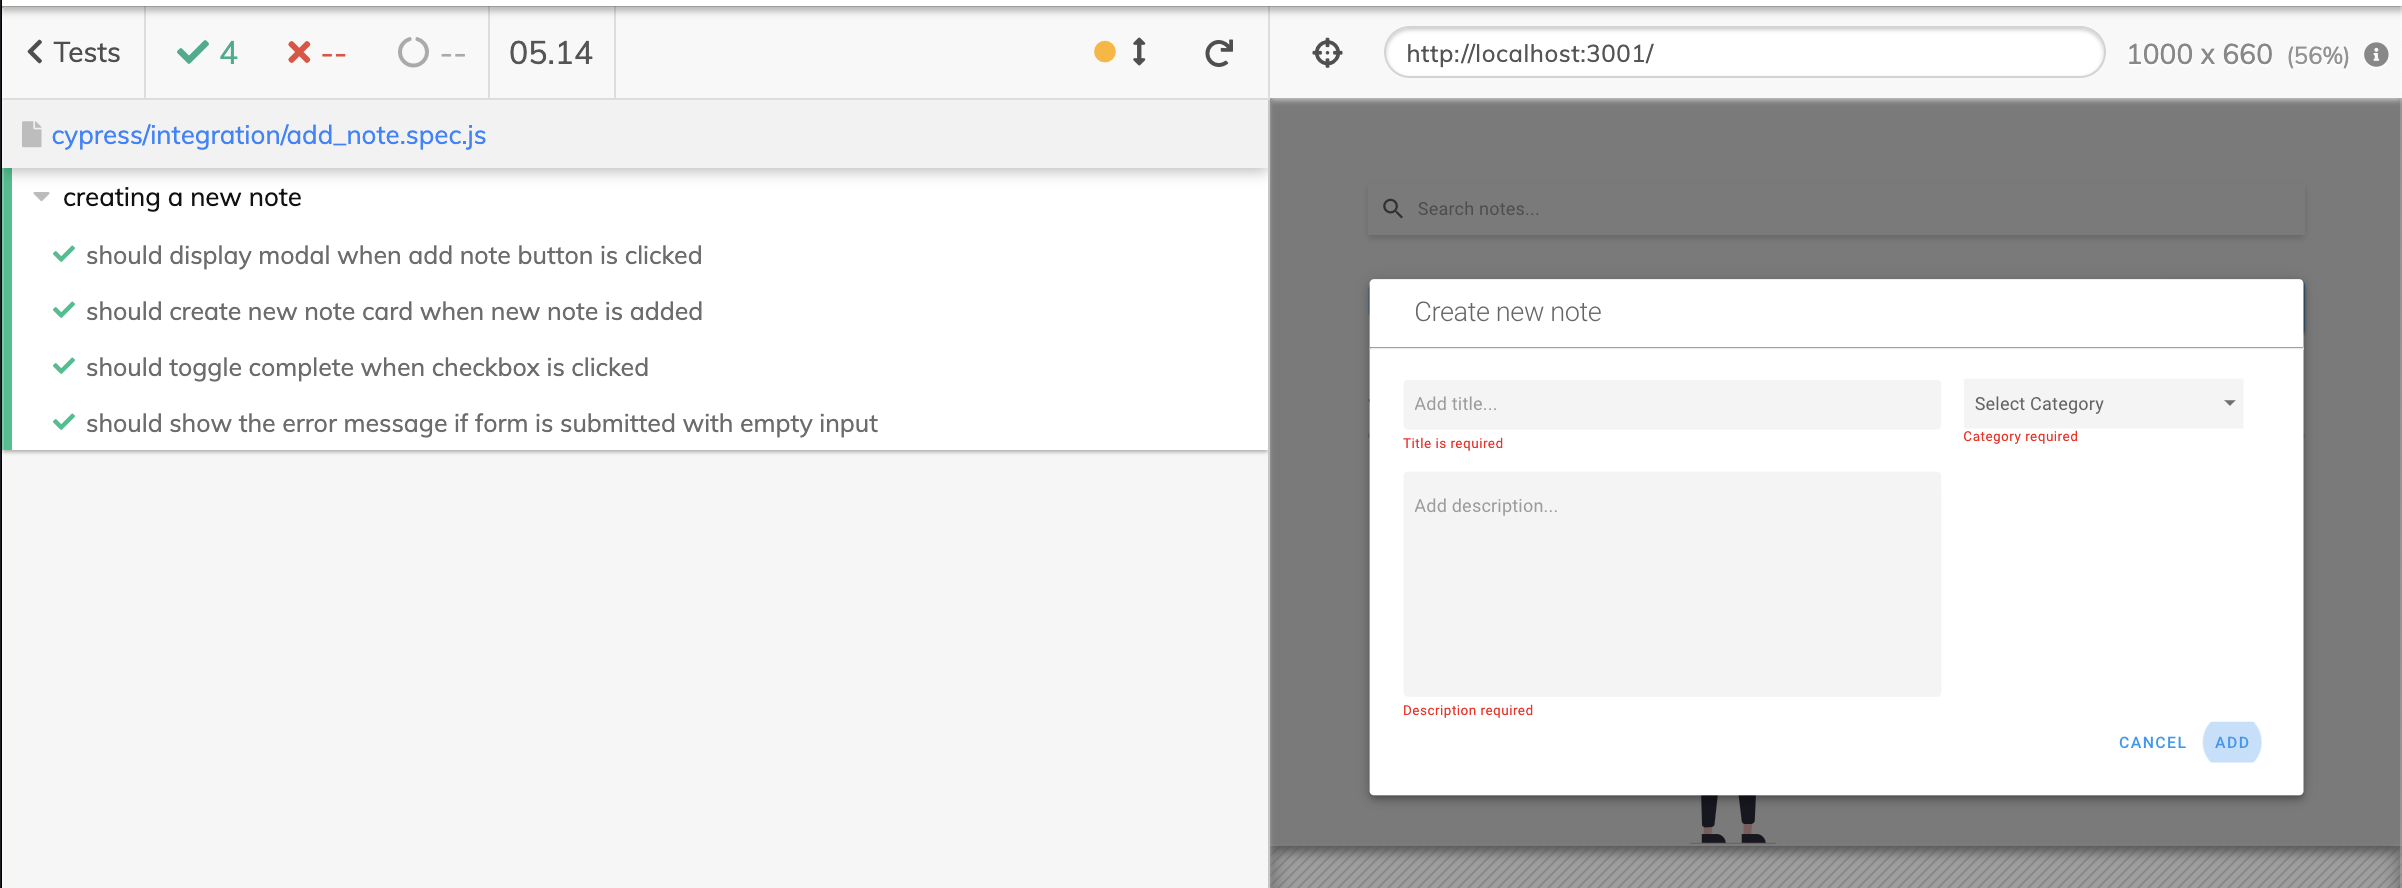
So we can see our tests are passing. Lets write one more test to check if the error messages show up when the user tries to submit the form with empty inputs.
describe('creating a new note', () => {

  ........

  it('should show the error message if form is submitted with empty input', () => {
    cy.get('button[data-cy="btnModal"]').click();
    cy.get('button[data-cy="btnAdd"]').click();
    cy.contains('Title is required').should('be.visible');
    cy.contains('Description required').should('be.visible');
    cy.contains('Category required').should('be.visible');
  });
}
Cypress Tests with HTTP requests
So far, we have been dealing with testing applications that are not making HTTP requests to a back-end service. One thing that's great about Cypress is that it is inherently asynchronous so, it will not change much when it comes to testing applications that make HTTP requests.
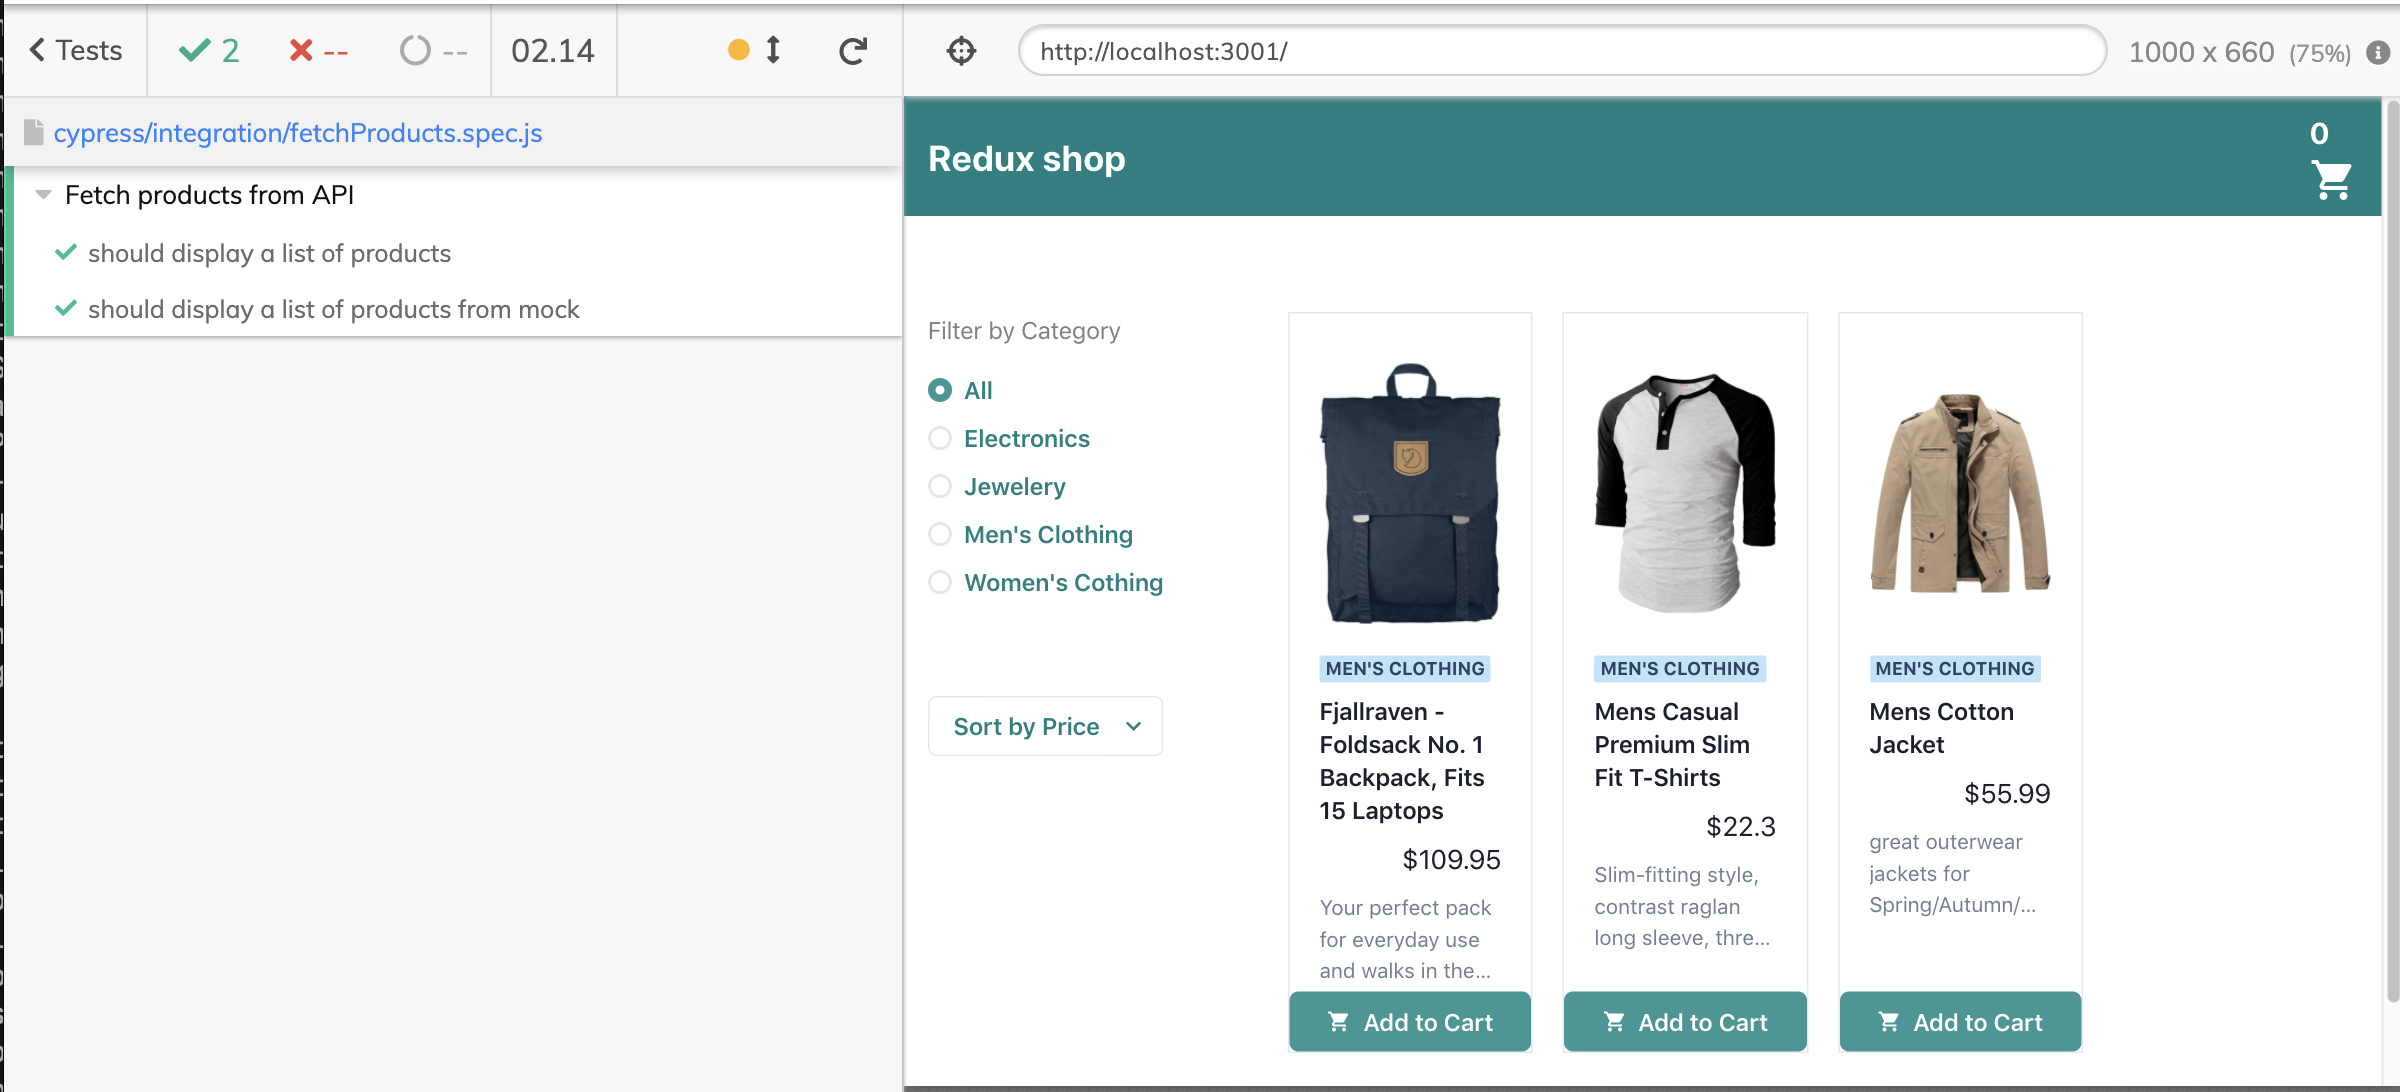
We will make use of an e-commerce store app which I built earlier for testing purposes. This app makes a request to FakeStore API to get the list of products. Lets write a test to check if the products are being displayed once the page loads.
describe('Fetch products from API', () => {
  beforeEach(() => {
    cy.visit('http://localhost:3001/');
  });

  it('should display a list of products', () => {
    cy.get('.css-jadj83').should(
      'contain',
      'Fjallraven - Foldsack No. 1 Backpack, Fits 15 Laptops'
    );
  });
});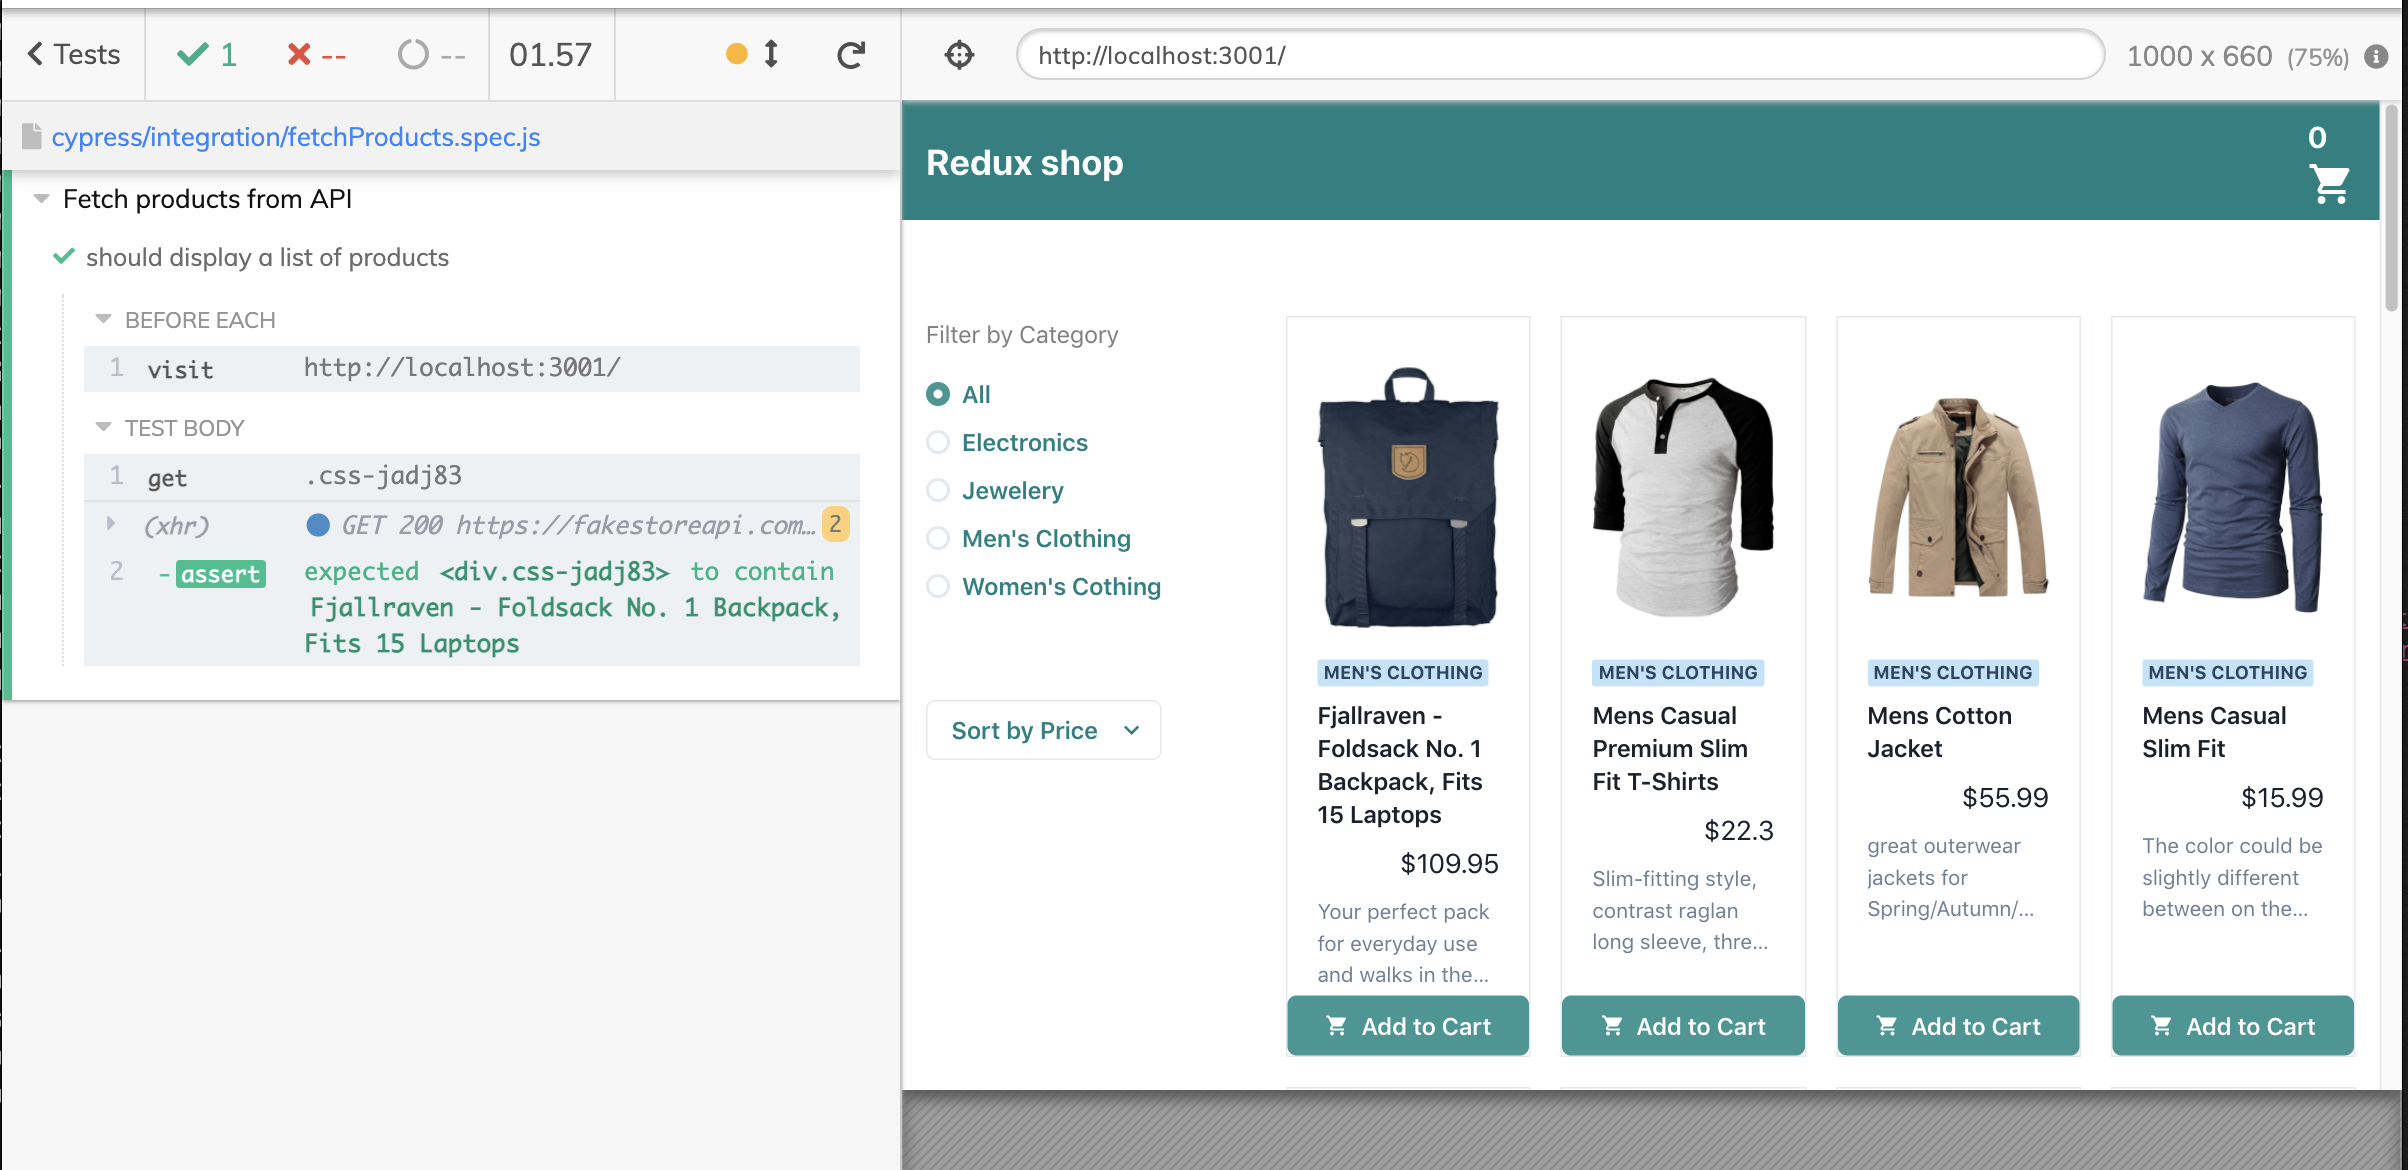
Ok so our test passes and is fairly similar to the ones we wrote earlier in the article. However, in some cases we don't want to get the data from the server or an external API. Reason being that maybe the data served by the server is dynamic and the content keeps changing or sometimes it is slow and by the time data is served our tests have already failed. To avoid these situations it is best we mock HTTP requests. Basically we tell cypress that if this test encounters HTTP requests we want you to intercept it and send back mock data which will be in the same structure as the data from our server.
it('should display a list of products from mock', () => {
  cy.intercept('GET', 'https://fakestoreapi.com/products', {
    fixture: 'products.json',
  });

  cy.get('.css-jadj83').should(
    'contain',
    'Fjallraven - Foldsack No. 1 Backpack, Fits 15 Laptops'
  );
});
So what the above test block is doing is it is intercepting a GET request to the given url and sending back data from fixture/products.json. Then we can essentialy make the same assertion and we see our test passes and only those products are being displayed which we entered in our json file.
Conclusion
Think we have covered most basics to get started with Cypress. I am sure there is a lot more to learn about this library and I am definitely excited to dive in more. But for now this should be enough to help you get started writing end-to-end tests for your applications.